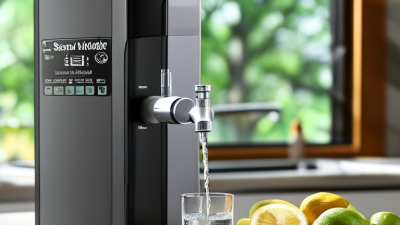
How to Replace a Whirlpool Water Filter?
Replacing a whirlpool water filter is usually a manageable kitchen task, but it deserves careful attention. The filter sits inside a refrigerator compartment, behind a small cover, or beneath a grille. Its exact position depends on the model. A model number check prevents an avoidable mistake.
Before handling the whirlpool water filter, switch off the dispenser and place a towel beneath the housing. Some refrigerators need the water supply turned off, while others do not. Follow the owner’s manual instead of forcing a stubborn cartridge. Push-in filters often release with a firm press, while twist-in designs turn counterclockwise. I have found that cold cartridges can feel unusually tight. Warm hands and steady pressure help, but tools may damage the housing.
Remove the used filter and compare the replacement with it. Confirm the part number, seal shape, and protective cap placement. Remove every shipping cover. Install the cartridge until it clicks or locks securely. Run several litres of water through the dispenser, following the manufacturer’s flushing guidance. The first water may contain carbon dust and tiny bubbles. That is normal, but unusual taste, dripping, or poor flow deserves inspection. Reset the filter indicator if the refrigerator includes one. Mark the installation date near the filter housing. Replacement intervals vary with water quality and usage, so calendar reminders are useful. A small oversight can cause a leak. Careful fitting matters more than speed.
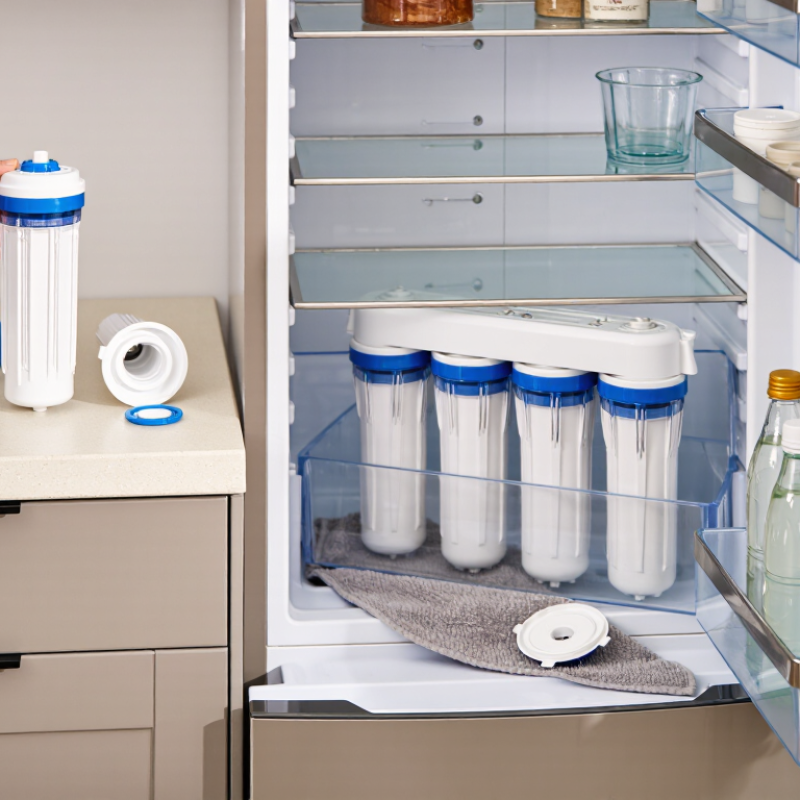
Identify Your Whirlpool Filter Type and Replacement Model
Choosing the correct replacement model starts with identifying the filter type, not guessing from its appearance. Check the cartridge housing, refrigerator wall, or water line for a printed code. Record its length, diameter, connector shape, and locking mechanism. Some models twist into place, while others slide into a head assembly. They may look similar but use different seals.
I once matched a cartridge by size alone. It leaked slowly. That shortcut was wrong. Compare the old filter’s code with the appliance manual and the manufacturer’s current compatibility list. Check whether the unit requires an internal cartridge, an inline filter, or a bypass plug.
Do not rely on marketplace photos. Confirm the certified contaminant claims, too. NSF/ANSI 42 generally covers aesthetic effects, such as chlorine taste and odor, while other standards address specific contaminants.
The WHO/UNICEF Joint Monitoring Programme reported in 2023 that 2.2 billion people lacked safely managed drinking water. That figure reinforces the need for careful source and filter decisions. Household filters cannot correct every water problem. Review a local water-quality report before choosing advanced filtration.
After installation, turn off the supply, seat the cartridge firmly, and flush the recommended volume. Watch the first few minutes for leaks. Recheck the connection the next day. Test the water if its taste, color, or odor changes unexpectedly.
Gather the Necessary Tools and Prepare the Refrigerator
Replacing a refrigerator water filter begins with careful preparation. I keep the new filter, a clean towel, a shallow bowl, and disposable gloves nearby. A flashlight helps when the filter sits behind a lower shelf. Check the refrigerator’s manual before removing anything. Filter shapes and release methods can differ between models.
Wash your hands and clear the nearby shelves. Place the towel beneath the filter housing to catch drips. Some systems need the water supply turned off, while others do not. Follow the appliance instructions instead of guessing. If the dispenser feels pressurized, dispense a small amount of water first. This can make filter removal easier. Do not unplug the refrigerator unless the manual requires it. Keeping food cold matters.
Tips:
Mark the installation date on a small piece of tape. It provides a useful reminder later. Avoid using sharp tools to force a stuck filter. I once rushed this step and damaged the plastic cover slightly. Gentle pressure usually works better. If the new filter has protective caps, remove them only before installation. Inspect the filter for cracks, loose seals, or unusual damage. A replacement that looks imperfect should not be installed. After preparation, keep the old filter available until the new one fits correctly.
Remove the Used Whirlpool Water Filter Safely
Removing a used refrigerator water filter safely starts with preparation. Place a shallow bowl and clean towel beneath the filter housing. This catches trapped water and prevents a slippery floor.
Turn off the dispenser, then follow the filter’s release direction. Some models require a quarter-turn; others use a push button. Never force the cartridge. Gentle pressure protects the housing and your fingers. Pull the used filter straight out, keeping it upright. Water may drip from its inlet. Avoid touching the filter ends, especially with unwashed hands.
The CDC advises replacing filters according to the manufacturer’s schedule because neglected filters can lose effectiveness and support microbial growth. NSF guidance also stresses using certified replacement filters matched to the appliance. Certification is not a guarantee of perfect water quality.
Tips:
Wash your hands before and after removal. Inspect the old cartridge for cracks, unusual odor, or dark buildup. These signs deserve attention, not panic. Wipe the housing with a clean, damp cloth. Do not use abrasive tools or pour household chemicals inside.
Record the removal date on your phone. I have found this simple habit prevents forgotten replacements. Still, schedules are imperfect. Heavy use, cloudy water, or unusual taste may require earlier replacement.
Dispose of the cartridge according to local waste guidance, then install the new filter without touching its clean outlet. Run the recommended amount of water before drinking it. EPA and CDC household water guidance both emphasize maintenance records and following product instructions for safer filtration.
Install and Secure the New Water Filter Correctly
Replacing a refrigerator water filter is simple, but the seal deserves careful attention.
Turn off the water supply if your appliance manual recommends it. Open the dispenser for a few seconds to reduce pressure. Remove the used filter slowly, keeping a towel underneath. Some water may spill.
Compare the new filter with the old one before installation.
Check the cap, locking tabs, and rubber O-ring for damage or dirt. Keep the cap clean. Push the filter straight into the housing, then turn it until it locks firmly. Do not force it. A filter can feel secure while remaining slightly misaligned, so check that it sits level and does not wobble. I have found that rushing this step often causes small leaks later.
Restore the water supply and dispense water into a large container.
Flush the amount specified in the appliance instructions, often several liters, until the stream looks clear and air bubbles decrease. Watch the connection for several minutes. Check twice. If water gathers around the housing, shut off the supply and reinstall the filter. Reset the filter indicator only after installation is complete. In some cases, the light may not reset immediately, and repeating the button sequence too quickly can create confusion. Record the installation date near the appliance; it makes the next replacement easier to judge.